Steps to Renovate a kitchen
 Over the past two plus years I have been working on my kitchen. It is the most expensive room to remodel in the house, so I've been doing it piece by piece which is slighting difficult for the impatient (that would be me) but also very satisfying to transform the space exactly how I want it, as I can afford it. What I find to be utmost gratifying is to look at the photos of the process. I am not there yet, but I have certainly come a long way!
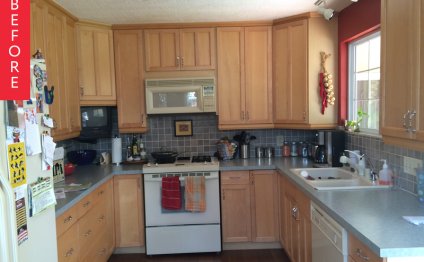
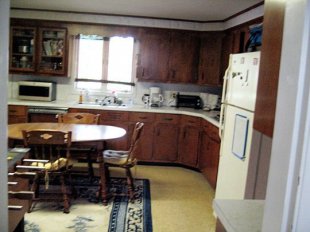
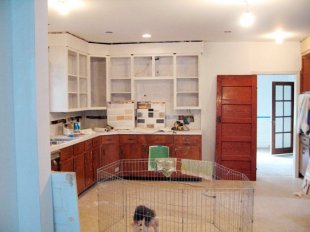
This is the original kitchen. It had all of the trappings of an outdated, dark room. Dropped ceilings, 30 inch cabinets top and bottom, no lighting, a dishwasher that was so old it hadn't worked in years, gold Formica countertops and beige VCT flooring.
 We started by ripping down the ceiling and discovered that the upper cabinet boxes were actually 36 inches. (One of the only eureka moments in the entire renovation!) So we proceeded to remove the doors and wood slats seen in the picture above, and make new doors. On the left side was an awkward small corner wall, so we added a new glass door to add more natural light. (The original access door was off of the living room which I removed and made into a solid wall. Not pictured.)
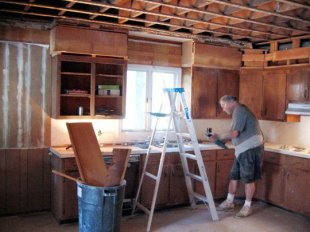 You can see the extended height of the upper cabinets in this photo as well as the frame work for the new crown molding that will be added. I also added recessed and under cabinet lighting (on a dimmer) and two additional fixtures, one over the sink and one over the table. If you've ever tried to place lighting fixtures in a room that is not yet built, it is so tricky! I made the mistake of not centering the overhead table light properly but it's all a learning process.
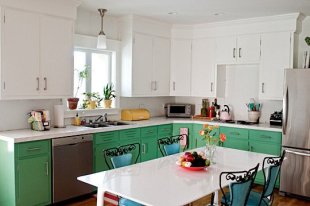
As a cost saving measure I had the cabinets professionally sprayed using Benjamin Moore Aura paint in Cotton Balls and Laura Ashley's Ivy Wreath on the bottom cabinets. I was able to paint these cabinets because they were custom made and solid wood probably installed in the fifties. I got lucky here too.
This photo shows the detail of the crown and the new lighting. I also replaced this window and had it trimmed with a deeper window sill to hold a few small plants.
The floors were ripped up, the appliances replaced, and I lived this way for two months before installing the 2.25 inch white oak flooring. After the flooring was installed I continued the search for cabinet hardware which proved very difficult for these existing cabinets. If I remember correctly, it took another four months of buying and returning hinges.
After living with open cabinets for a while I could not wait for all of my kitchen stuff to be hidden by doors! If you are considering an open concept for your kitchen, I suggest you take your doors off first to be sure you can live with it.

RELATED VIDEO


Share this Post
Related posts
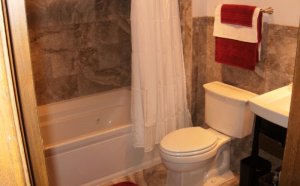
Price to Renovate a bathroom
Homeowners have many options when it comes to bathroom remodels and the total cost depends on style and budget. The average…
Read More
Cost to Renovate bathroom
This part of Don s answer follows my thoughts exactly: You want to deal with a professional person that is selling you a…
Read Morelatest posts
-
 Double oven kitchen Design June 30, 2026
 -
 Renovation of kitchen June 25, 2026
 -
 Kitchen Layout Design Ideas June 20, 2026
 -
 Walk-in in bathroom Design June 15, 2026
 -
 Green Kitchen Design Ideas June 10, 2026
 -
 Bathroom Renovation Northern Virginia June 5, 2026
 -
 Before and After kitchen Renovations May 31, 2026
 -
 Kitchen Renovation Company May 26, 2026
 -
 Kitchen Tile Design Ideas Pictures May 21, 2026
 -
 Small kitchen Design Australia May 16, 2026